
Short answer: Claim photo documentation works when three things are true: the damage was shot in a sequence a stranger can follow, every photo carries a date and an address it cannot lose, and the whole set sits on the claim record instead of on the phone that took it. Volume is not the point. Sequence and location are.
I build CRM For Claims, and claim photo documentation is the part of the job I see teams do the most work on and get the least value from. Everybody shoots photos. Almost nobody shoots them in an order that means something to a person who was never on the roof, and a surprising number of those photos end their life in a camera roll on a phone that leaves the company in March.
The reason this matters is simple and it is not about diligence. Every decision on a claim after the inspection is made by someone who cannot see the building. A desk adjuster reading the file, an independent adjuster verifying it, a reviewer looking at a supplement six weeks later, a homeowner asking why the number changed — all of them are working from your photos. If the photos do not answer their question, the answer becomes no, or becomes a phone call that costs a week.
What photos does an insurance claim actually need?
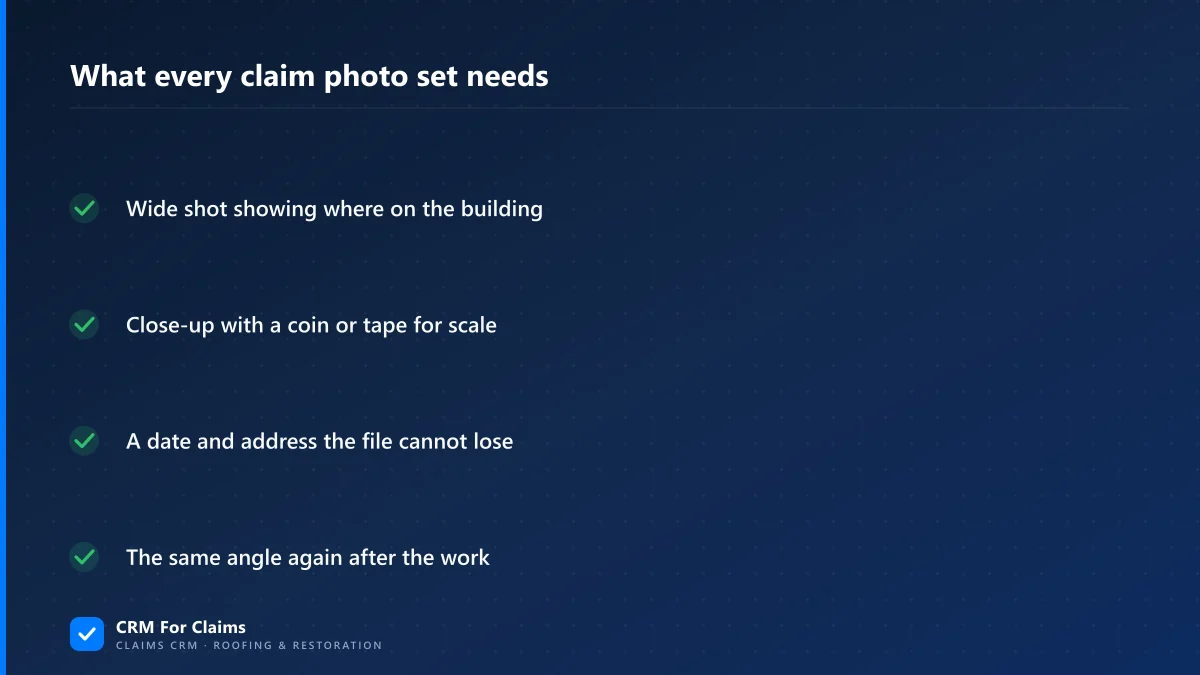
Three shots of every damaged area rather than one: a wide shot that establishes where on the building you are standing, a medium shot of the affected section, and a close-up with something in the frame for scale. A close-up on its own proves that damage exists somewhere in the world. It does not prove it is on this house.
This is the single change that improves most photo sets, and it costs about four extra seconds per area. The reviewer's problem is not believing you. It is orientation. Given forty tight close-ups of hail bruising, a reviewer cannot tell which slope they belong to, whether two of them are the same hit shot twice, or whether any of them are on the property being claimed. Given a wide shot first, every close-up that follows has an address.
| Shot | What is in the frame | What it proves |
|---|---|---|
| Wide | The whole elevation, slope or room, with a fixed landmark visible | That this damage is on this building, in this spot |
| Medium | The affected section — one slope, one wall, one ceiling area | Where on the structure it is, and how much of it is involved |
| Close-up | The individual hit, tear, break or meter reading, with a scale object | What the damage actually is, at a size someone can judge |
The scale object is the other cheap habit. A coin, a tape, a chalk circle, a pen — anything with a known size. Without it, a reviewer is estimating dimensions from pixels on a screen, and estimating conservatively, because that is what you do when you cannot tell. With it, the argument about whether a bruise is large enough stops being an argument.
When do you take claim photos, and what gets missed?
Four moments matter, and three of them are easy to miss because they happen while you are busy doing something else. The first inspection is the one everybody covers. The other three — before mitigation begins, during the hours when work exposes what was hidden, and at completion — are where most of the missing evidence on a stalled claim comes from.
| Moment | What to shoot | Why this is the only chance |
|---|---|---|
| First inspection | Full three-shot set of every damaged area, plus an overview of each elevation and something showing the address | It is the only record of the condition before anyone touched it |
| Before mitigation starts | Standing water, saturated materials, the moisture meter with its reading and the wall both in frame | Drying destroys the evidence that the drying was necessary |
| As work opens things up | Decking after tear-off, layers found at the edge, wet insulation behind removed drywall, rot at a penetration | Concealed conditions are visible for a few hours and then covered forever |
| At completion | The same angles as the first set, from roughly the same standing positions | It closes the file, and it answers a callback two years later in one minute |
The third row is where the money is. Almost every supplement on a restoration job comes out of something a crew found after the estimate was written, and the difference between a supplement that gets approved and one that gets argued about is usually whether there is a dated photo of the condition before it was covered up. We went through that mechanism in detail in the guide to claim supplements and approvals — photo evidence is the piece that makes the rest of it work, and it has a shelf life measured in hours.
The completion set is the one that gets skipped hardest, because the job is done and everyone wants to leave. Shoot it anyway. It is the cheapest warranty defence there is, and matching before-and-after angles is what makes a completion set persuasive rather than decorative.
Where do claim photos have to live?
On the claim record, attached to the claim itself, uploaded from the device that took them. Not in a camera roll, not in a text thread, not in a shared drive folder named after the homeowner, and not in a group chat. The test is whether a colleague who has never been to that property can find the full set in under a minute without asking anybody.
There is a technical reason to care about the route the file takes, not only the destination. Digital photos carry metadata — a timestamp, and frequently GPS coordinates — written by the camera at the moment of capture. Photos sent through messaging and social platforms are commonly recompressed and stripped of that metadata along the way, and a screenshot of a photo has none of it at all. So the same picture can be strong evidence or weak evidence depending on how it reached the file. Upload the original from the device; treat texted copies as a heads-up, never as the record.
The other failure has nothing to do with technology. Photos on a personal phone belong to the person, not the claim, and people leave. When an estimator moves on, the claims they inspected keep running — but the inspection photos went with the phone, and nobody notices until a supplement needs them. The same thing happens quietly when a claim is reassigned mid-job and the new owner inherits a record with no visual history in it.
- Upload the same day, from the field. Not tonight, not at the end of the week. A set that is uploaded before the truck leaves is a set that exists.
- Label by area, not by number. "North slope", "master bath ceiling", "attic above garage" — the reviewer is looking for a place, not for file 0447.
- Keep the originals. If a photo is cropped or marked up for an estimate, keep the untouched file too. The annotated one is an argument; the original is the evidence.
- Attach photos to the claim, not to a person. If access depends on who took them, the record is one resignation away from being incomplete.
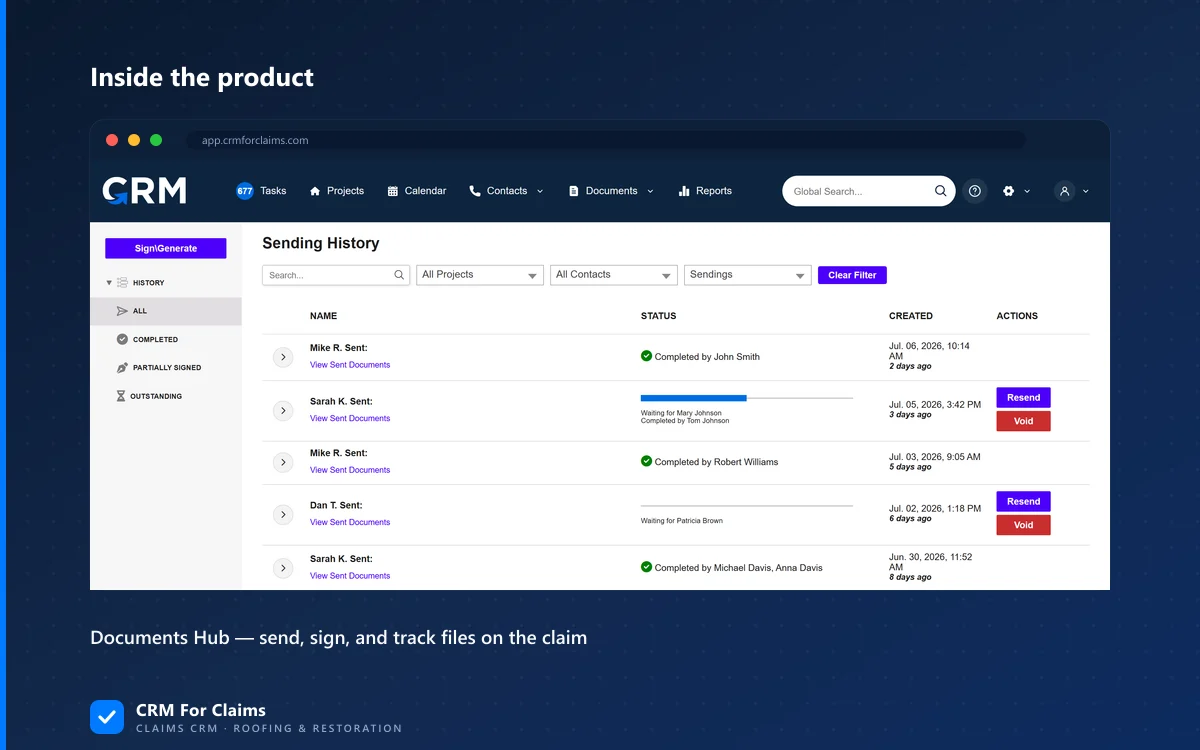
This is the same argument as the one for paperwork, which is why the two usually get solved together. Documents and photos are both evidence that arrives from the field, both need to be findable by a second person under time pressure, and both are worthless in an inbox — the reasoning is laid out in the piece on handling insurance paperwork without email chaos. A system that files documents onto the claim and leaves photos on a phone has solved half the problem.
What makes a photo useless to the person reviewing it?
Five things, and none of them are about camera quality. A photo fails when a reviewer cannot tell where it was taken, how big the damage is, when it was taken, or what they are looking at — or when it arrived in a form that quietly stripped one of those answers out on the way.
| The photo you have | Why it does not help | What to do instead |
|---|---|---|
| A close-up with nothing else in frame | It could be any roof in the county | Precede it with the wide shot taken from the same standing position |
| A screenshot, or a copy pulled out of a text thread | Recompressed and usually stripped of its date and location data | Upload the original file from the device that took it |
| Damage with no scale object | Size cannot be judged from pixels, so it gets judged conservatively | Put a coin, tape or chalk mark in the frame — it takes one second |
| A dark or motion-blurred interior shot | It weakens the whole set, because it looks like nothing was there to see | Reshoot it on site, before leaving the property |
| A photo whose date you cannot defend | Sequence is exactly what a supplement disagreement is about | Upload where the date and the claim are stamped on it automatically |
How many claim photos are too many?
When nobody can find the one that matters. There is no upper limit on shooting and there is a hard practical limit on reviewing, so four hundred unsorted images on a residential claim is functionally the same as none — the reviewer opens fifteen of them, does not find the answer, and asks you a question you already photographed.
The fix is not shooting less. It is grouping. Photos organised by area and by moment — inspection, mitigation, tear-out, completion — stay usable at any volume, because anyone looking for the decking condition goes to one place. The same set dumped in capture order stops being usable somewhere around fifty images, whether it belongs to a small water loss or a full roof replacement.
One honest caution about the drone and 360-camera question, since it comes up constantly: better capture equipment does not fix an organisation problem, and it can make it worse by producing more files faster. If the current set is disorganised, more pixels arriving per minute will not help. Fix where they land first.
Do you need software for this, honestly?
Not necessarily. A one-person operation with a phone, a consistent folder-per-address habit and the discipline to upload the same day is genuinely fine. The threshold is not job volume — it is the first time somebody other than the photographer needs the photos, which is usually the first hire, the first reassigned claim, or the first supplement written by the office rather than the field.
Past that point, the requirement is specific: photos attached to the claim record itself so they survive a reassignment, dated at upload rather than by memory, visible to the office without asking the estimator, and sitting next to the documents and messages for the same claim so the whole file reads as one story. That is what claims-first structure means in practice, and it is spelled out on the features page, with the honest comparison against a general-purpose tool on the comparison page — including where a generic tool is still the right call.
If you want to test any of this before you take my word for it, the fastest check costs nothing: pick a claim you closed last year and try to open its full photo set right now, without calling the person who inspected it. Whatever that takes is your real answer. If it takes longer than a minute, book a live walkthrough and bring that claim with you — it is a better demo than anything I would have picked.